EWN iPhone and Android Applications
Main Features
- Receive EWN warnings based on your physical location
- View detailed alerts and warning maps
- Warnings include all severe weather threats, bushfires and tsunami - more info
- Share warnings through your SMS and email contact lists, Facebook and Twitter
- Upload and share geo-tagged images and video to the EWN Alerts map, Facebook and Twitter accounts
- Hit the Help Me button to instantly alert specific contacts with your location and contact details in case of emergency, stress or requirement for assistance
Location Services
It is important that your phone has location services switched on when your register the app, otherwise EWN cannot determine your initial location for sending alerts.
For Android:- Settings ---> Location ---> Tick either "Google locations services" or "GPS satellites". The GPS option uses more battery power but is more reliable in rural areas.
- Click the "Settings" icon, then click "Privacy" then "Location Services"
- Ensure location services at the top of the screen is turned on
- Ensure EWN in the list for location services is turned on
- Click the "Settings" icon, then click "Location Services"
- Ensure location services at the top of the screen is turned on
- Ensure EWN in the list for location services is turned on
Registering or Logging In your new iPhone or Android Application
If you are already registered to the Early Warning Network via the regular SMS or email service and wish to use the same email address, you will need to login to the App. Enter your existing email address, password and mobile number. If you have forgotten your password, use the Forgot Password link to generate a new one.
If you are new to the Early Warning Network or wish to use a different email to one you may have registered in the past, click the Register Now button. Fill out the registration form and click Submit.


Receiving Location Based Alerts
It is important to keep the app running on your phone at all times if you want your location (latitude and longitude) to be updated regularly.
If you log out of the app or disable location services on your phone, location updates will not be sent to EWN. However, you will still receive push notification alerts based on the last location sent to our servers. You will also be sent email alerts (and SMS alerts if you have those).
If you'd like to know the current location EWN servers have stored for you, login to our website and have a look. Use the Update Your Location screen after logging in. The Find Me screen in the app also shows your current location but this may not have passed across to the EWN servers.
Configuring and Setting your Alerts Application
In addition to receiving and alerting you to important warnings, the application also includes other safety features such as the Help Me button and your Location. To set this up and to manage the frequency your location is updated and profile (email ID and password), from the home screen select Settings.

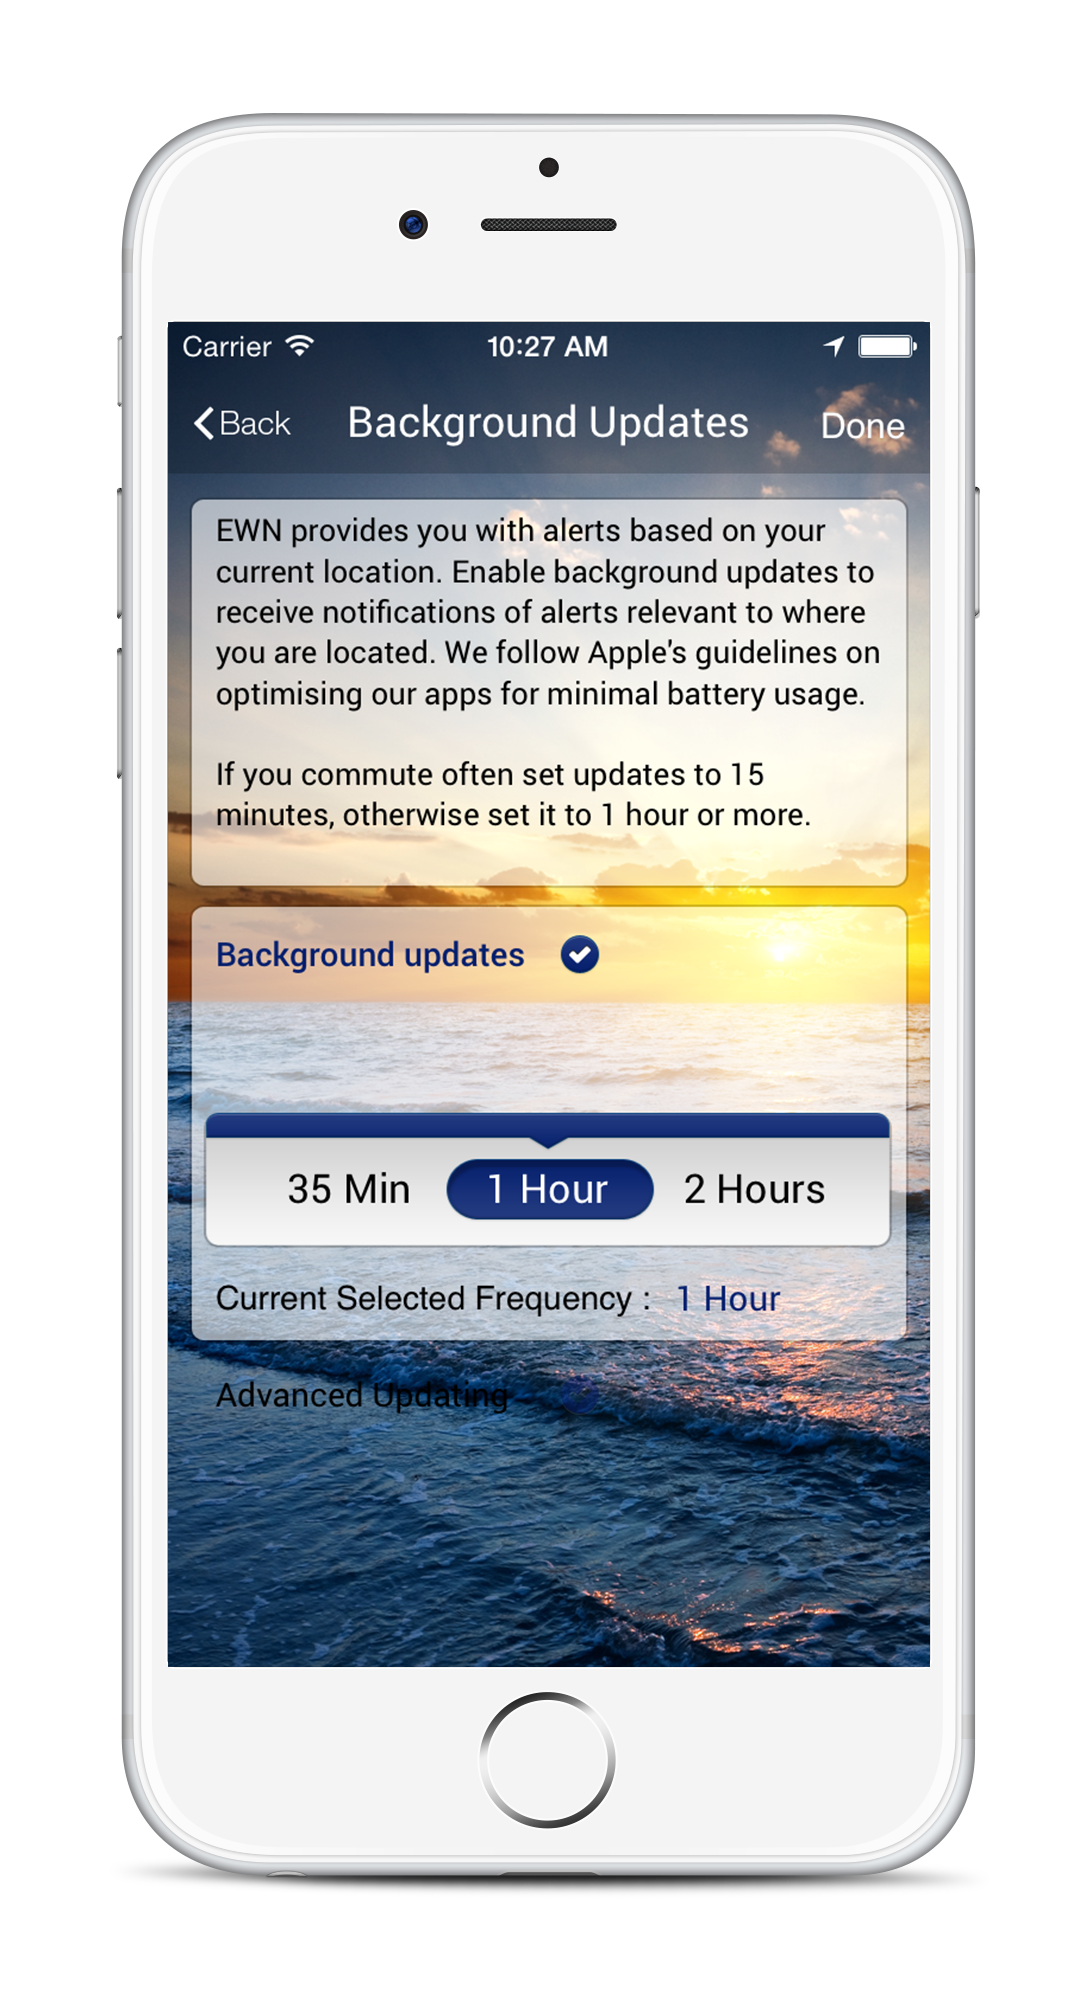
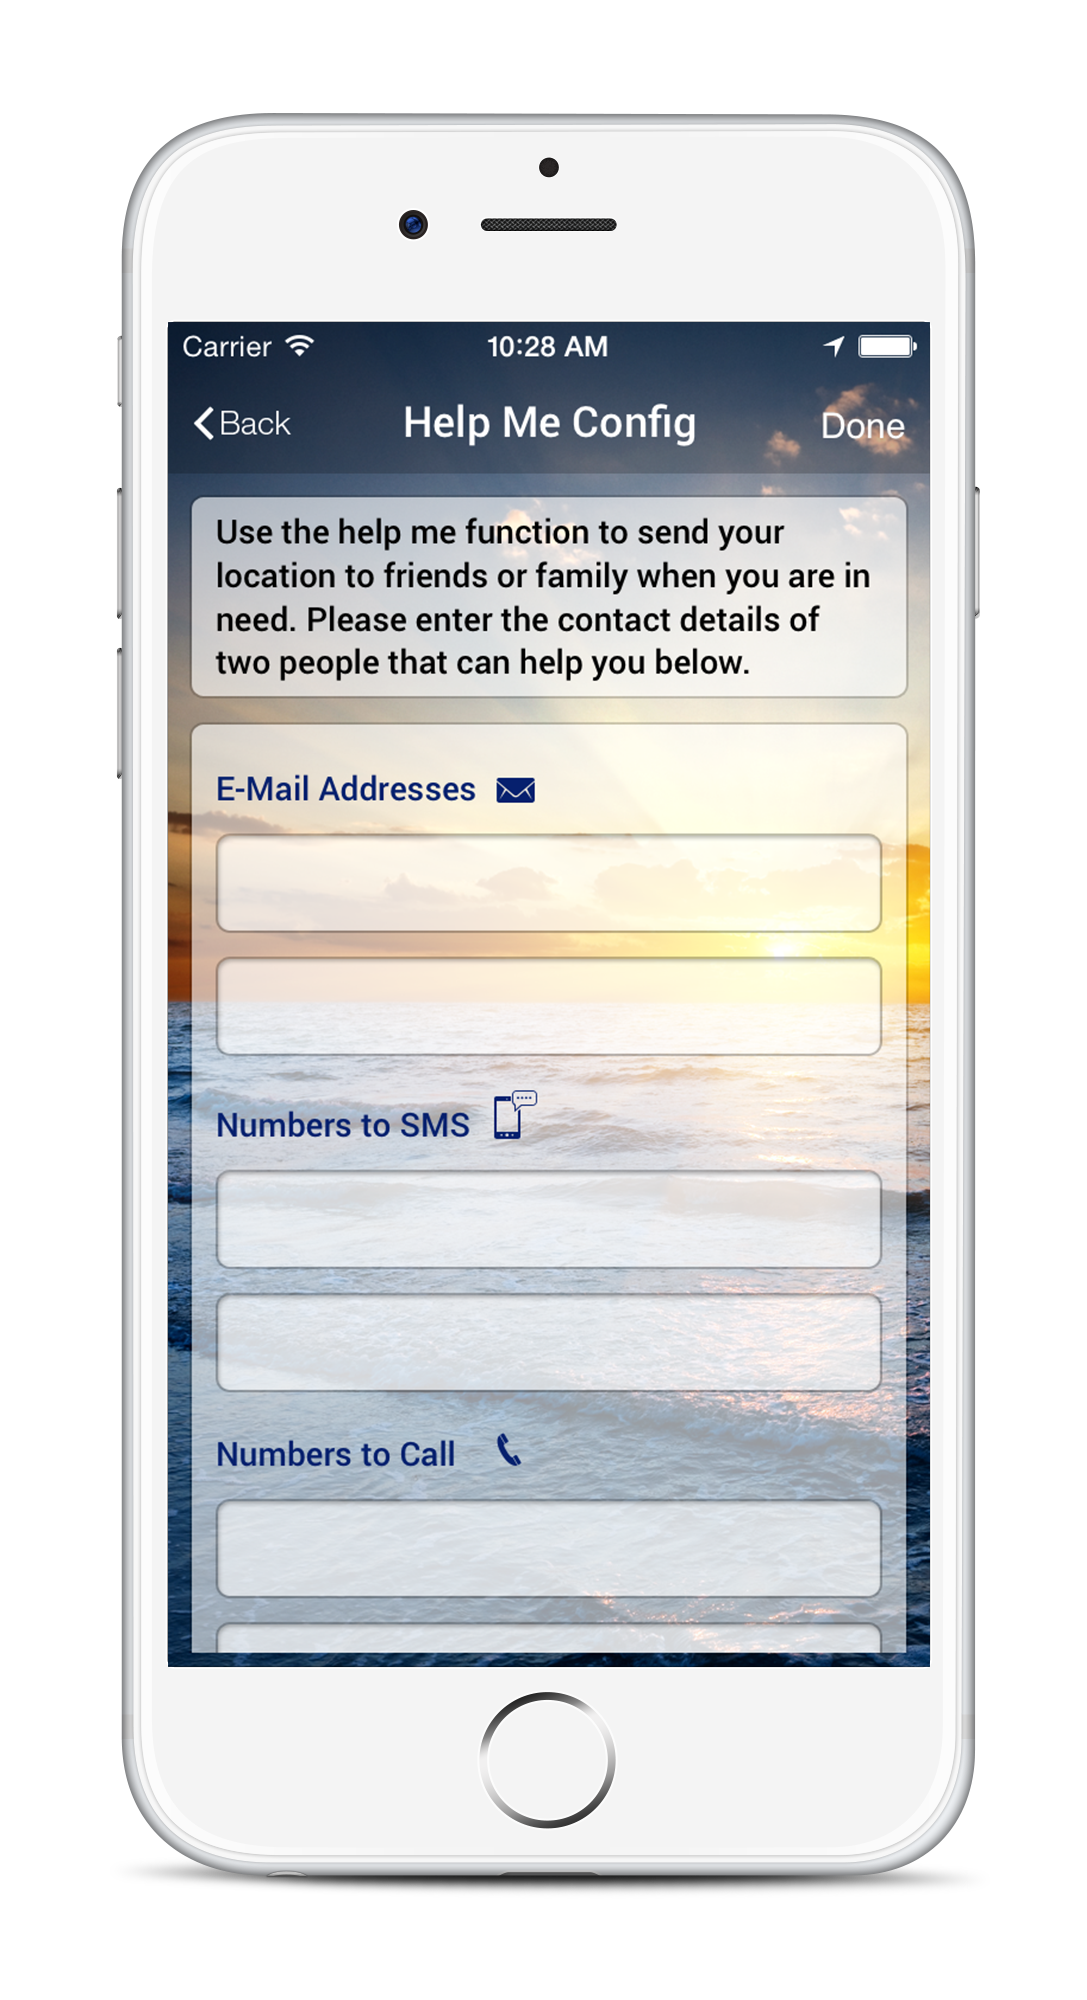
On the Edit Profile screen you can update your details. For Background Updates we suggest you select 30 minutes or an hour unless you are travelling long distances. If you are at a fixed location most of the time you can conserve battery power by setting the interval to the maximum of 4 hours. Help Me Configuration sets up the email and SMS that your Help Me button sends your location and message to when you need help. Group Subscriptions will list all the alerting groups you belong to. If you disable any of the groups you may not receive any alerts.
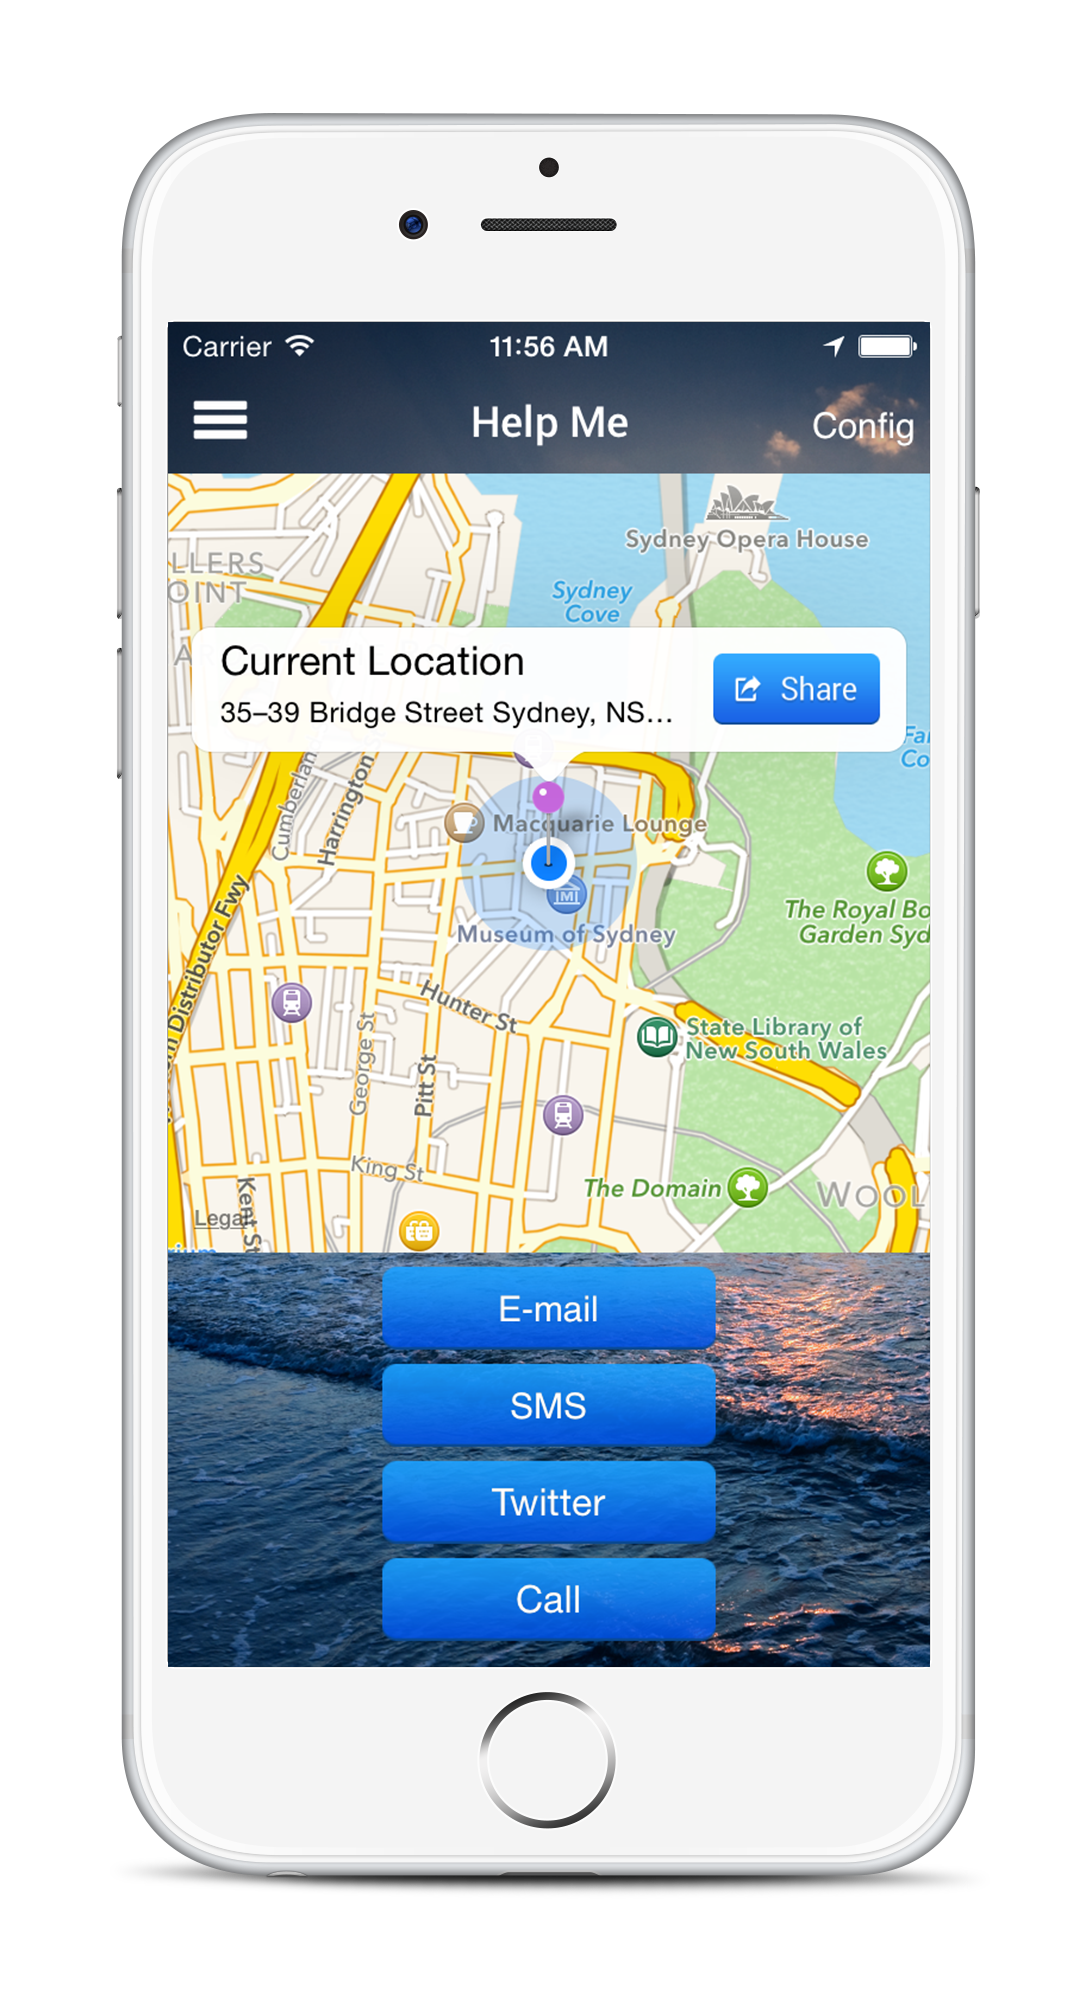
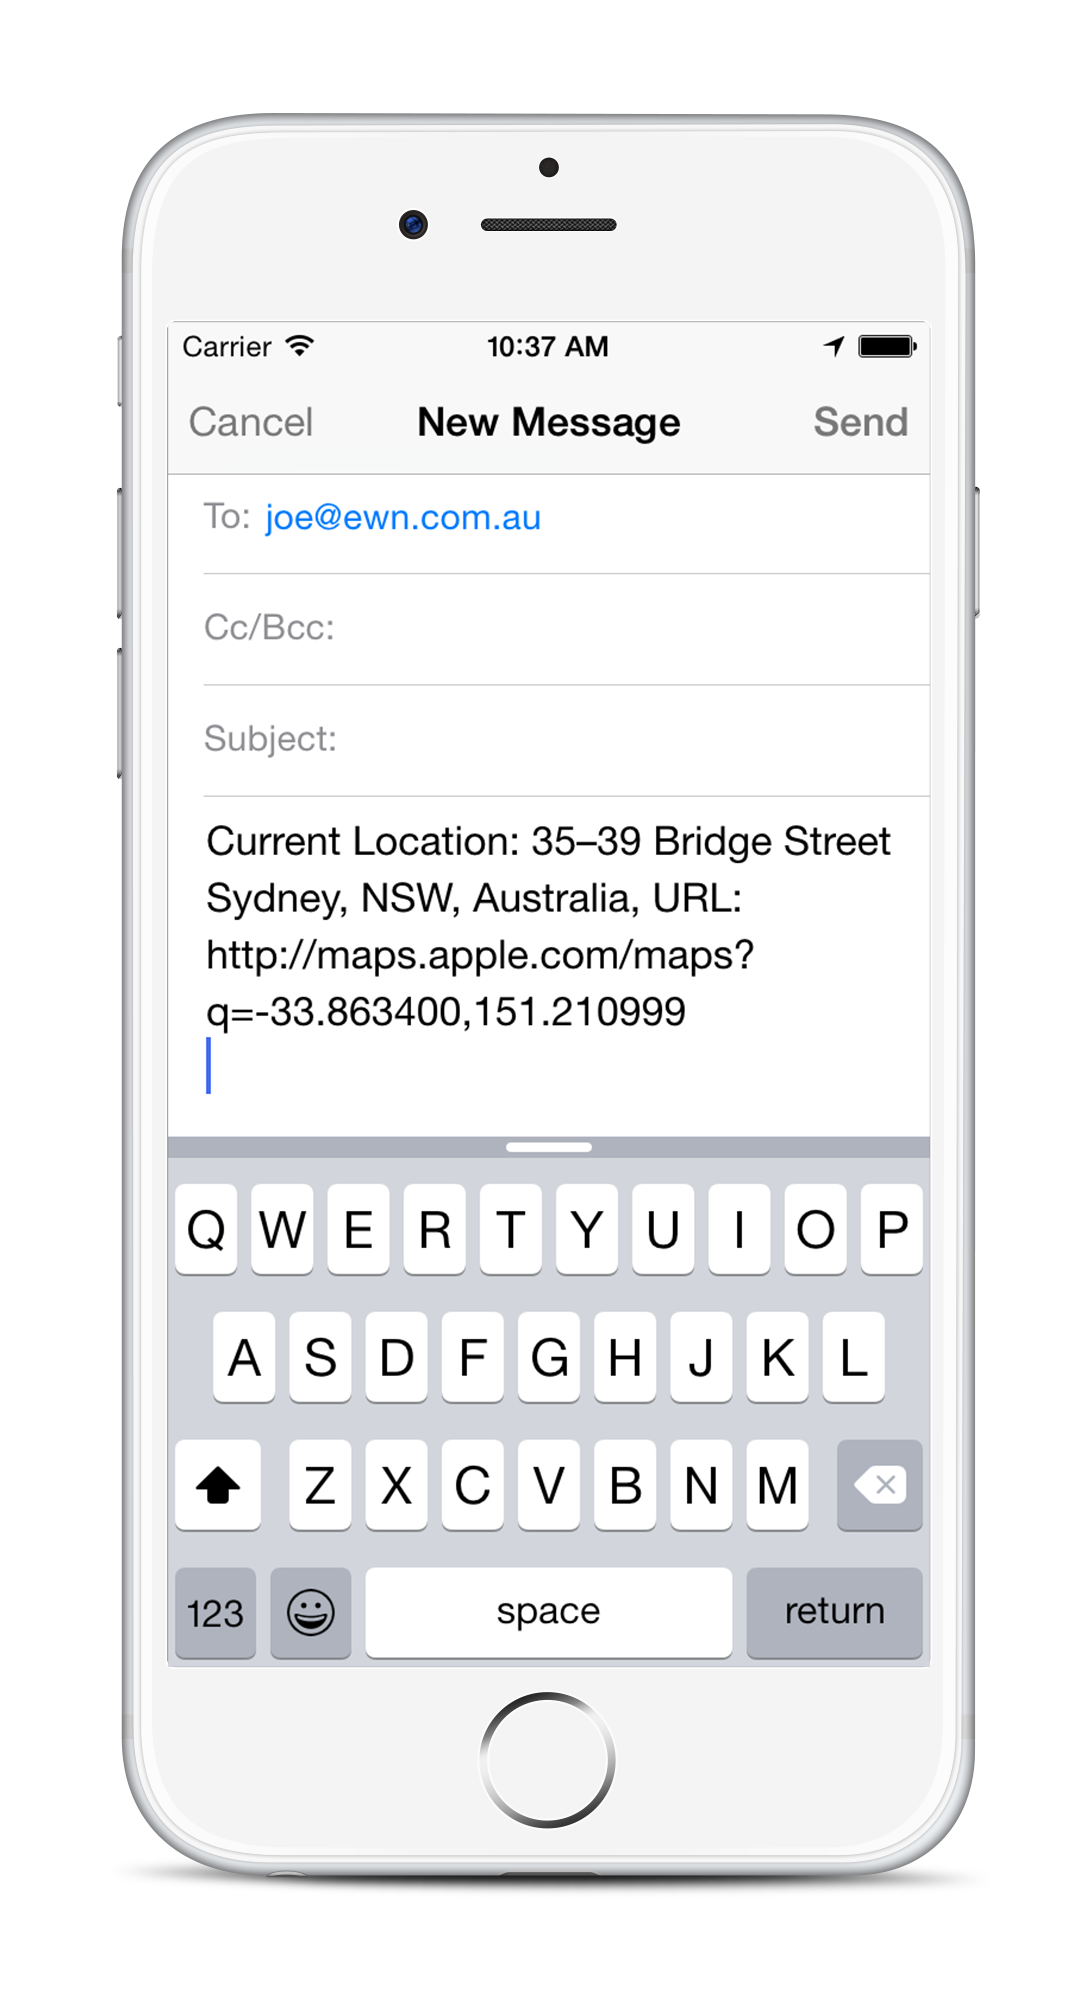
Under configurations you can enter two email addresses, mobile numbers and numbers to call. When needing help you click on the Help Me button where you can choose how you want to send your alert.
The following screen is an example message.
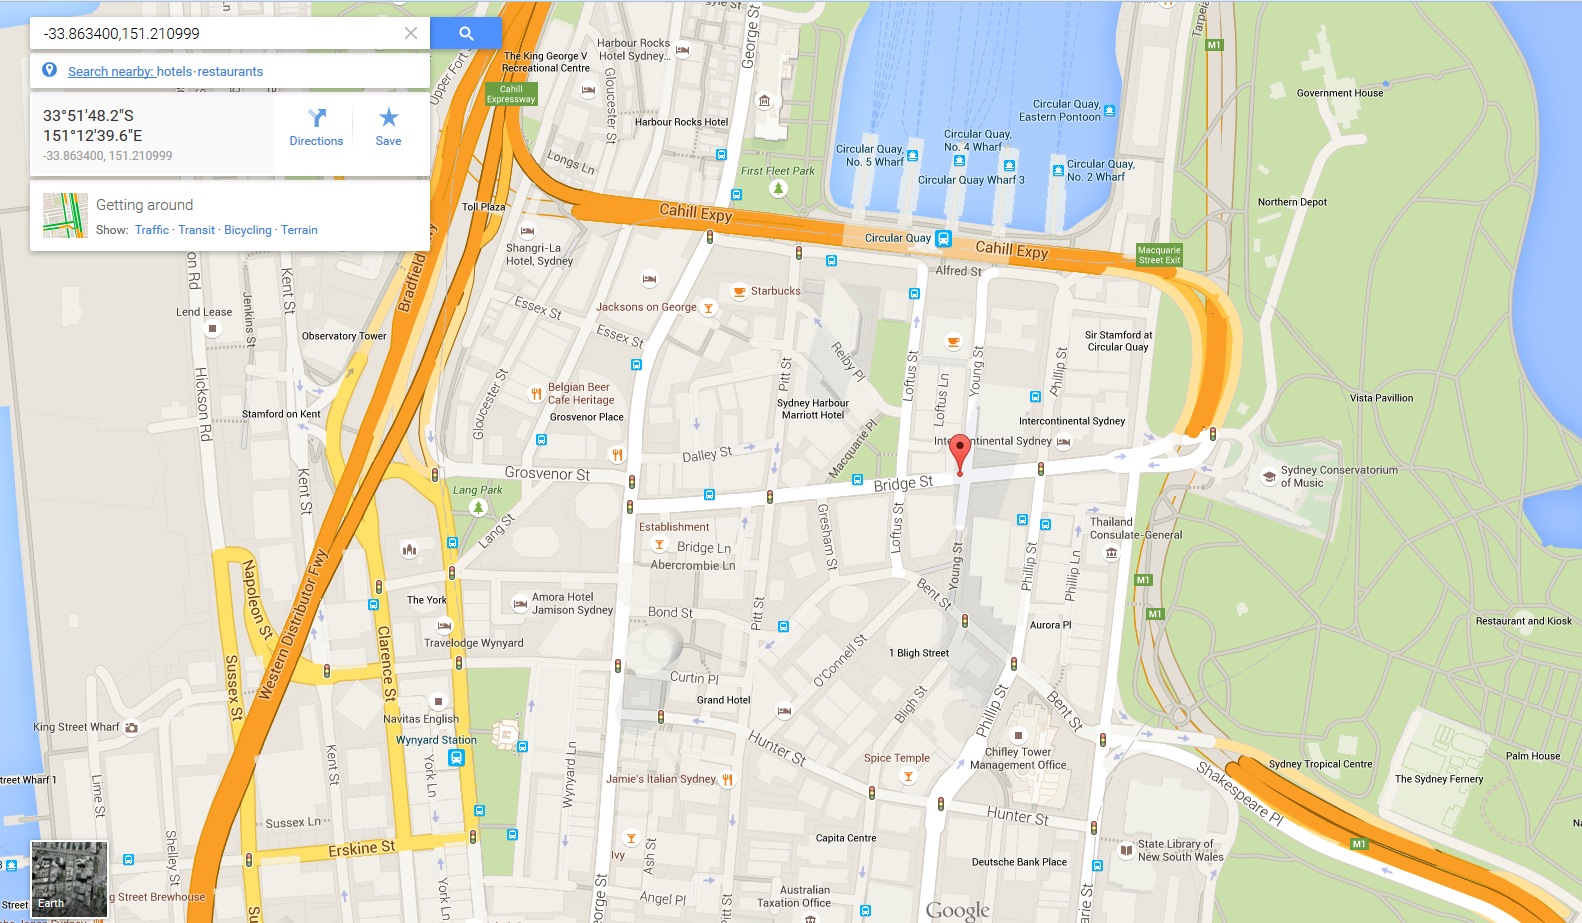
This is what can be viewed on a PC/tablet after clicking the link
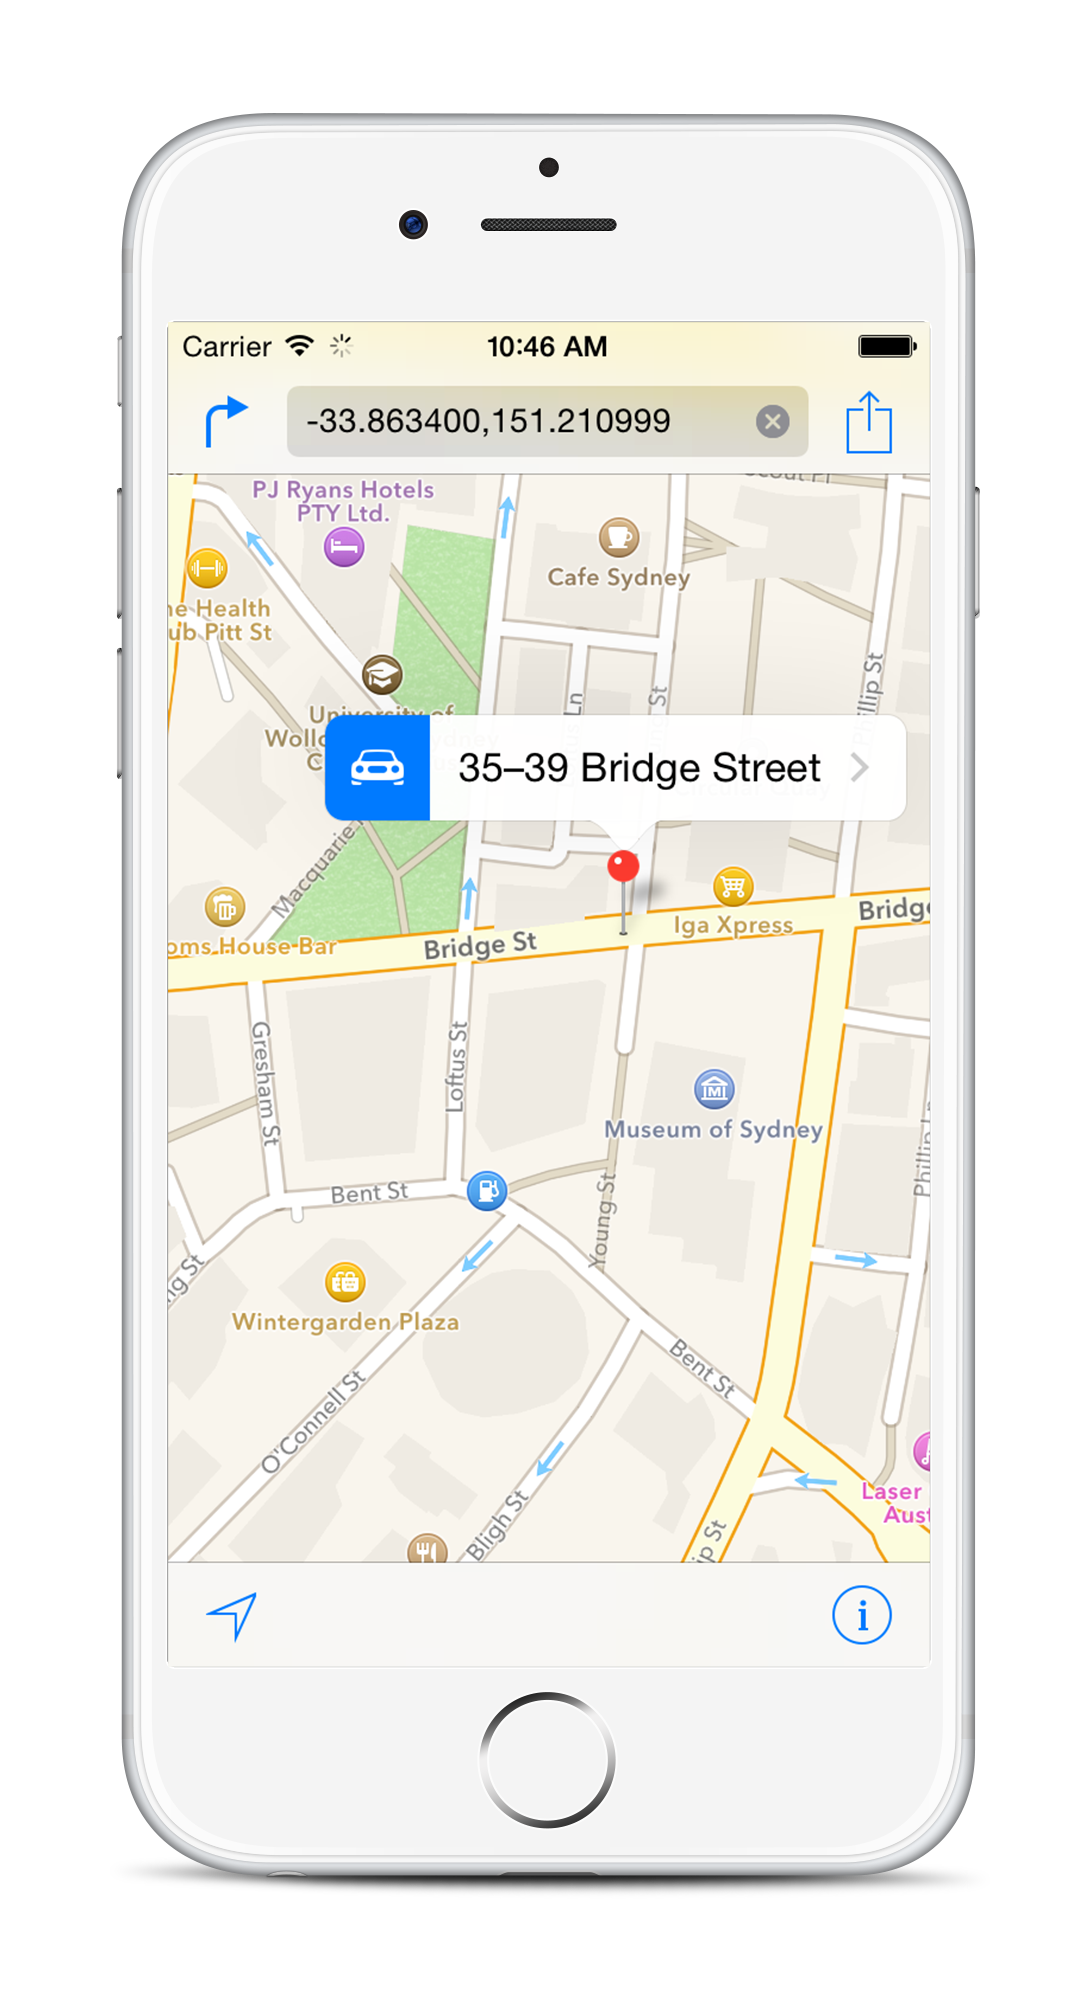
Below is an example of clicking on the link within the message sent by SMS. The image to the right is when you use the 'Find Me' link which displays your current location that you can also share.

Receiving and Sharing Alerts
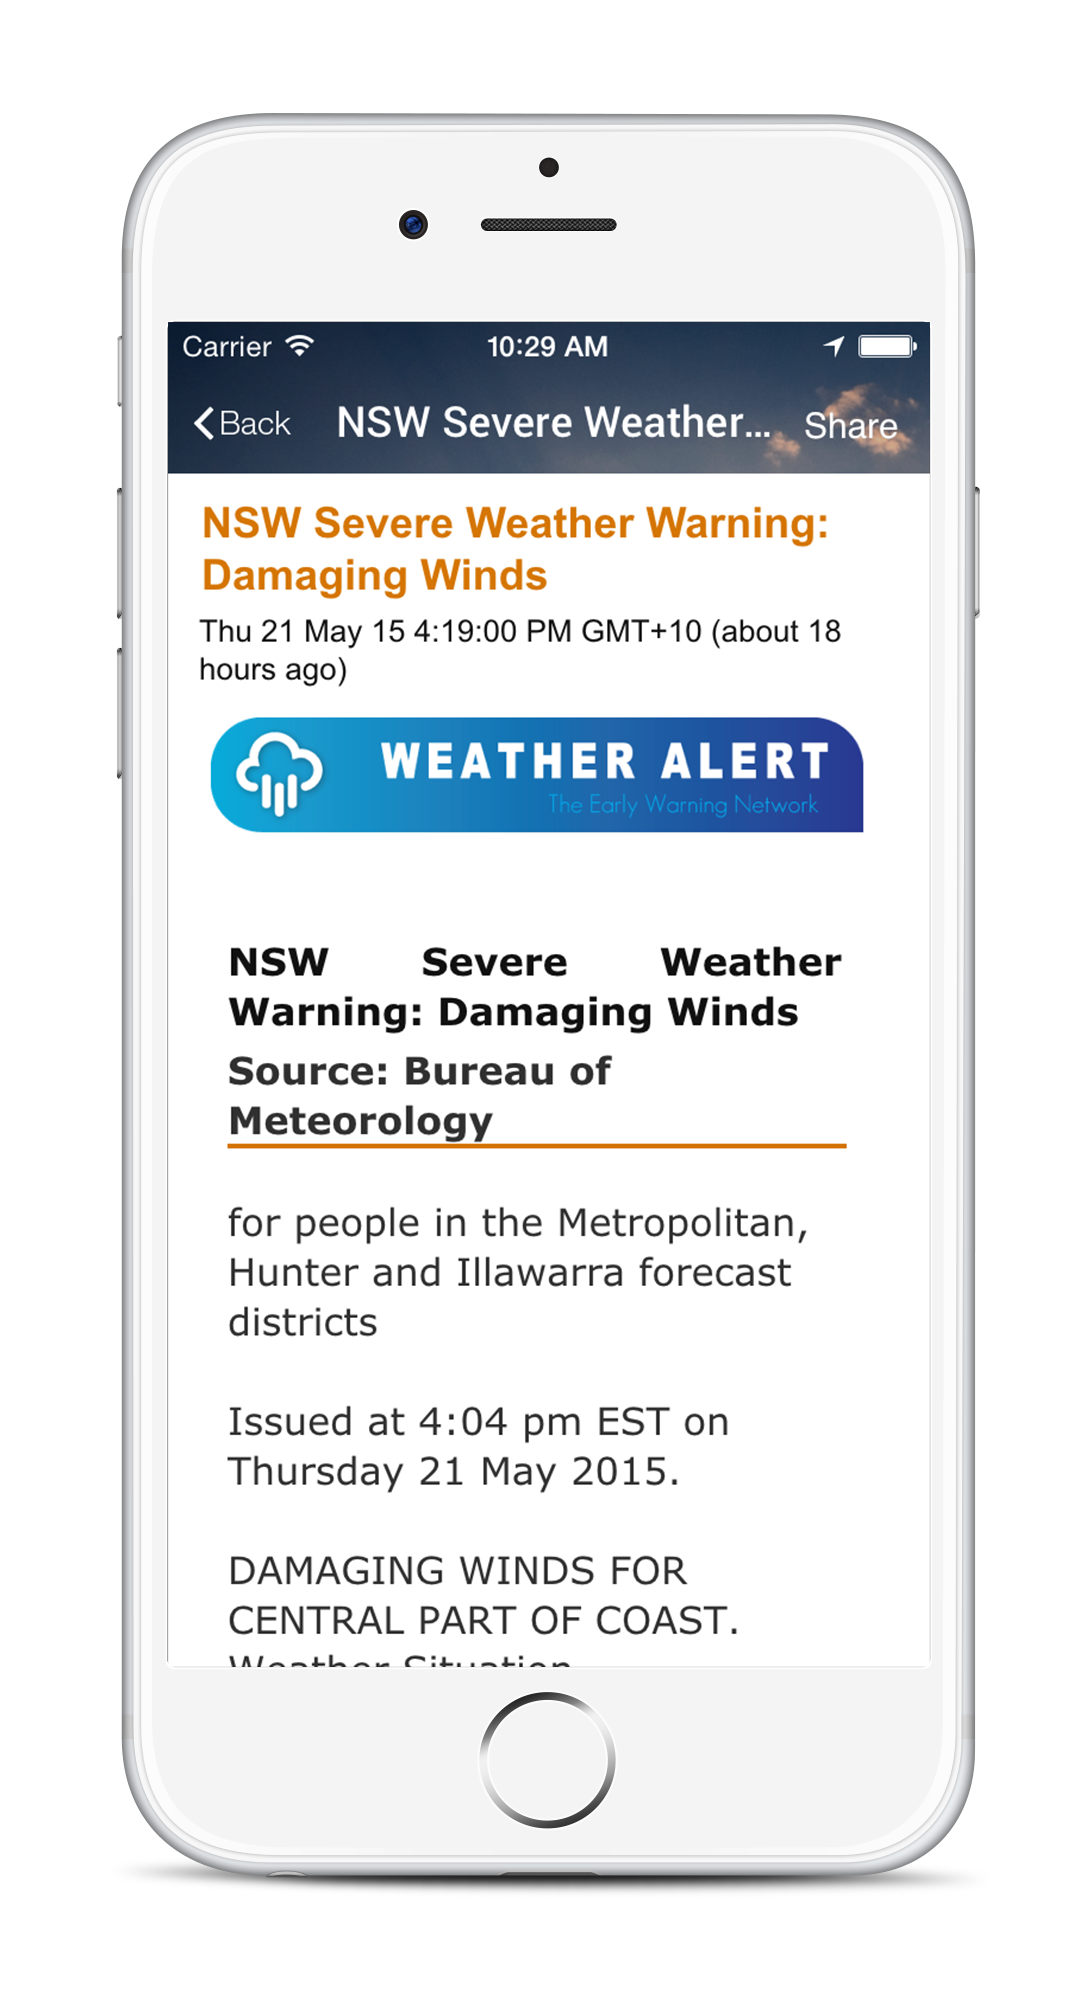
You will receive your alerts by push notification which will alert you based on the sound you have set for notifications on your handset. On the alerts page you will see alerts you have been sent. Click the alerting group with a number (this number is how many alerts you have been sent and not deleted) then click the subject to read the content. Use the delete button to clear old alerts.
There are also "Recent Alerts - Near Me" and "Recent Alerts - Nationally". These two are information only and you will not receive push notifications for those. You can't delete them either.
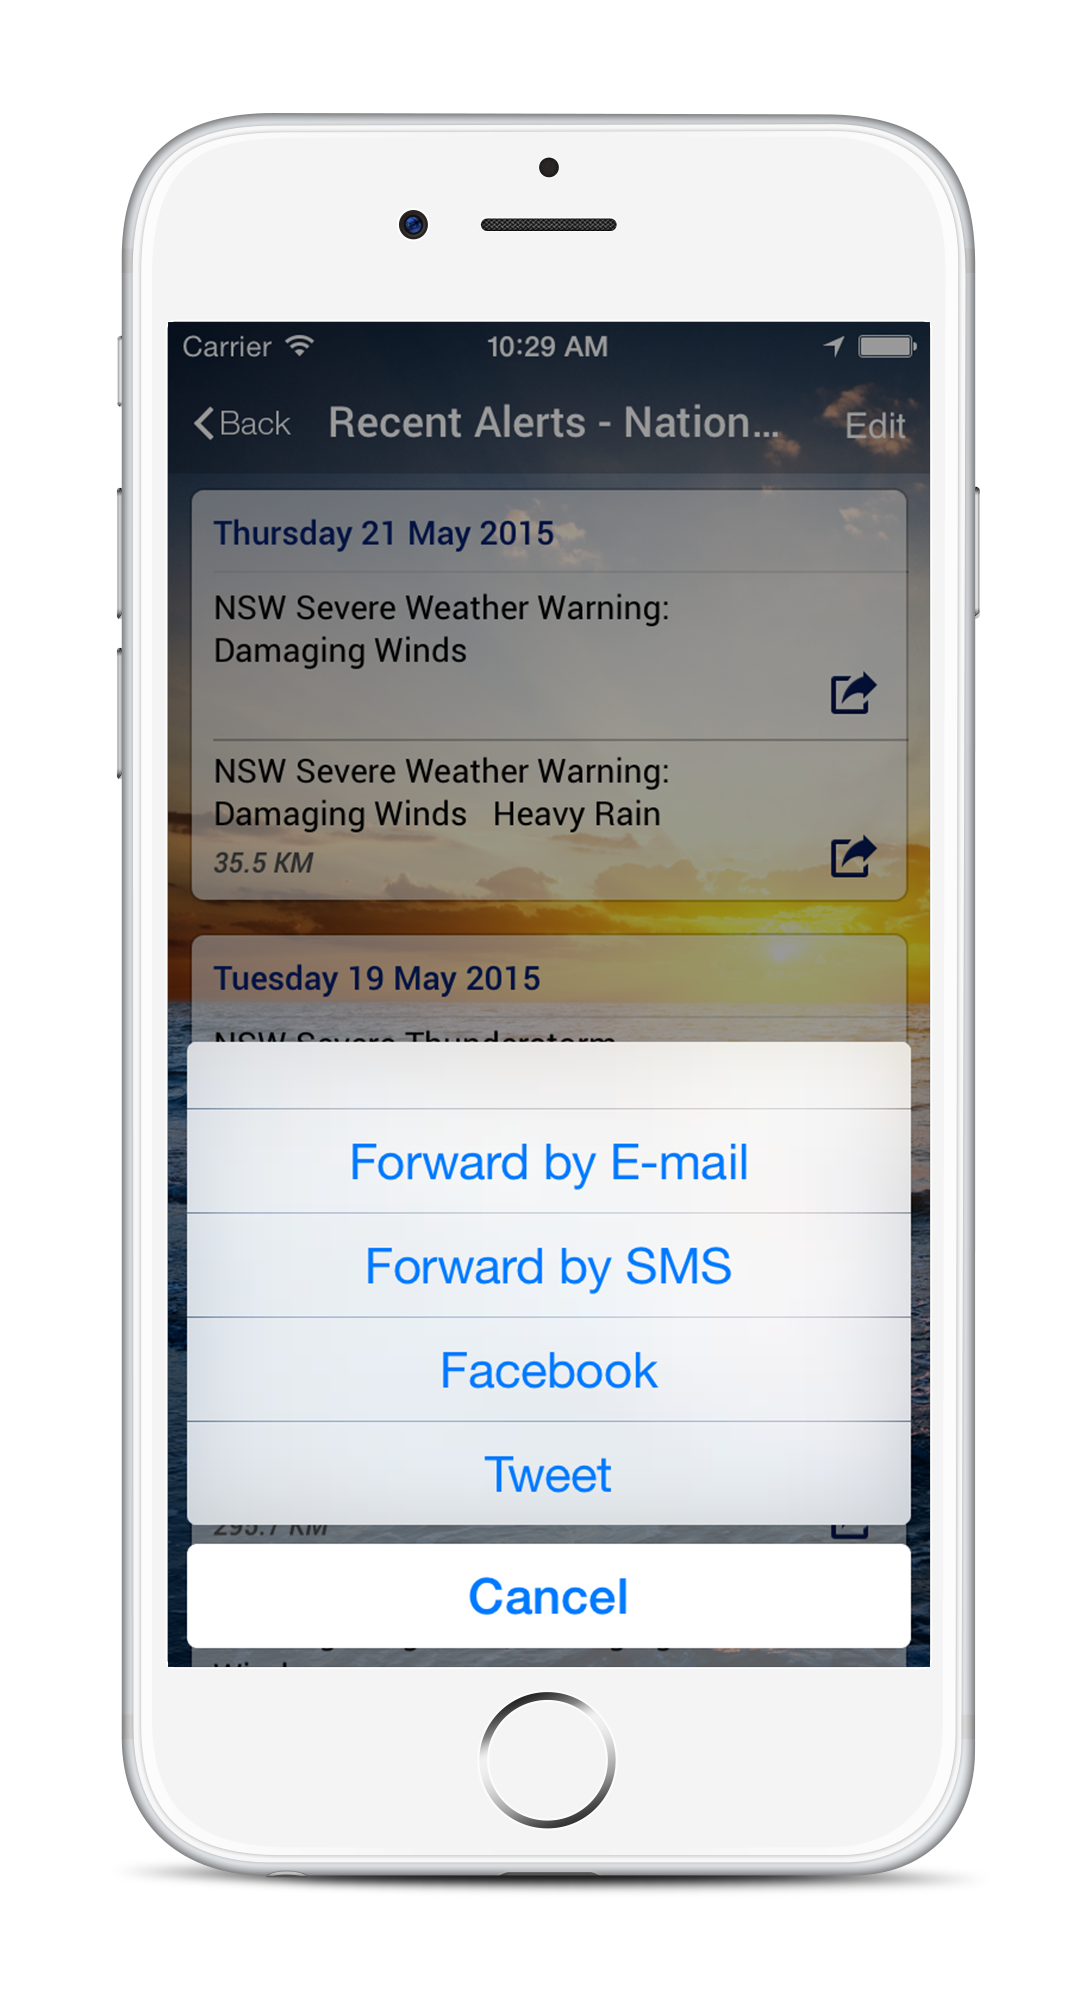
After receiving an alert you may wish to share this with others. Simply select the forward button.


This will bring up the screen below. From here you can select how you wish to forward the message and to whom.
Uploading Images Video and Incident Reports
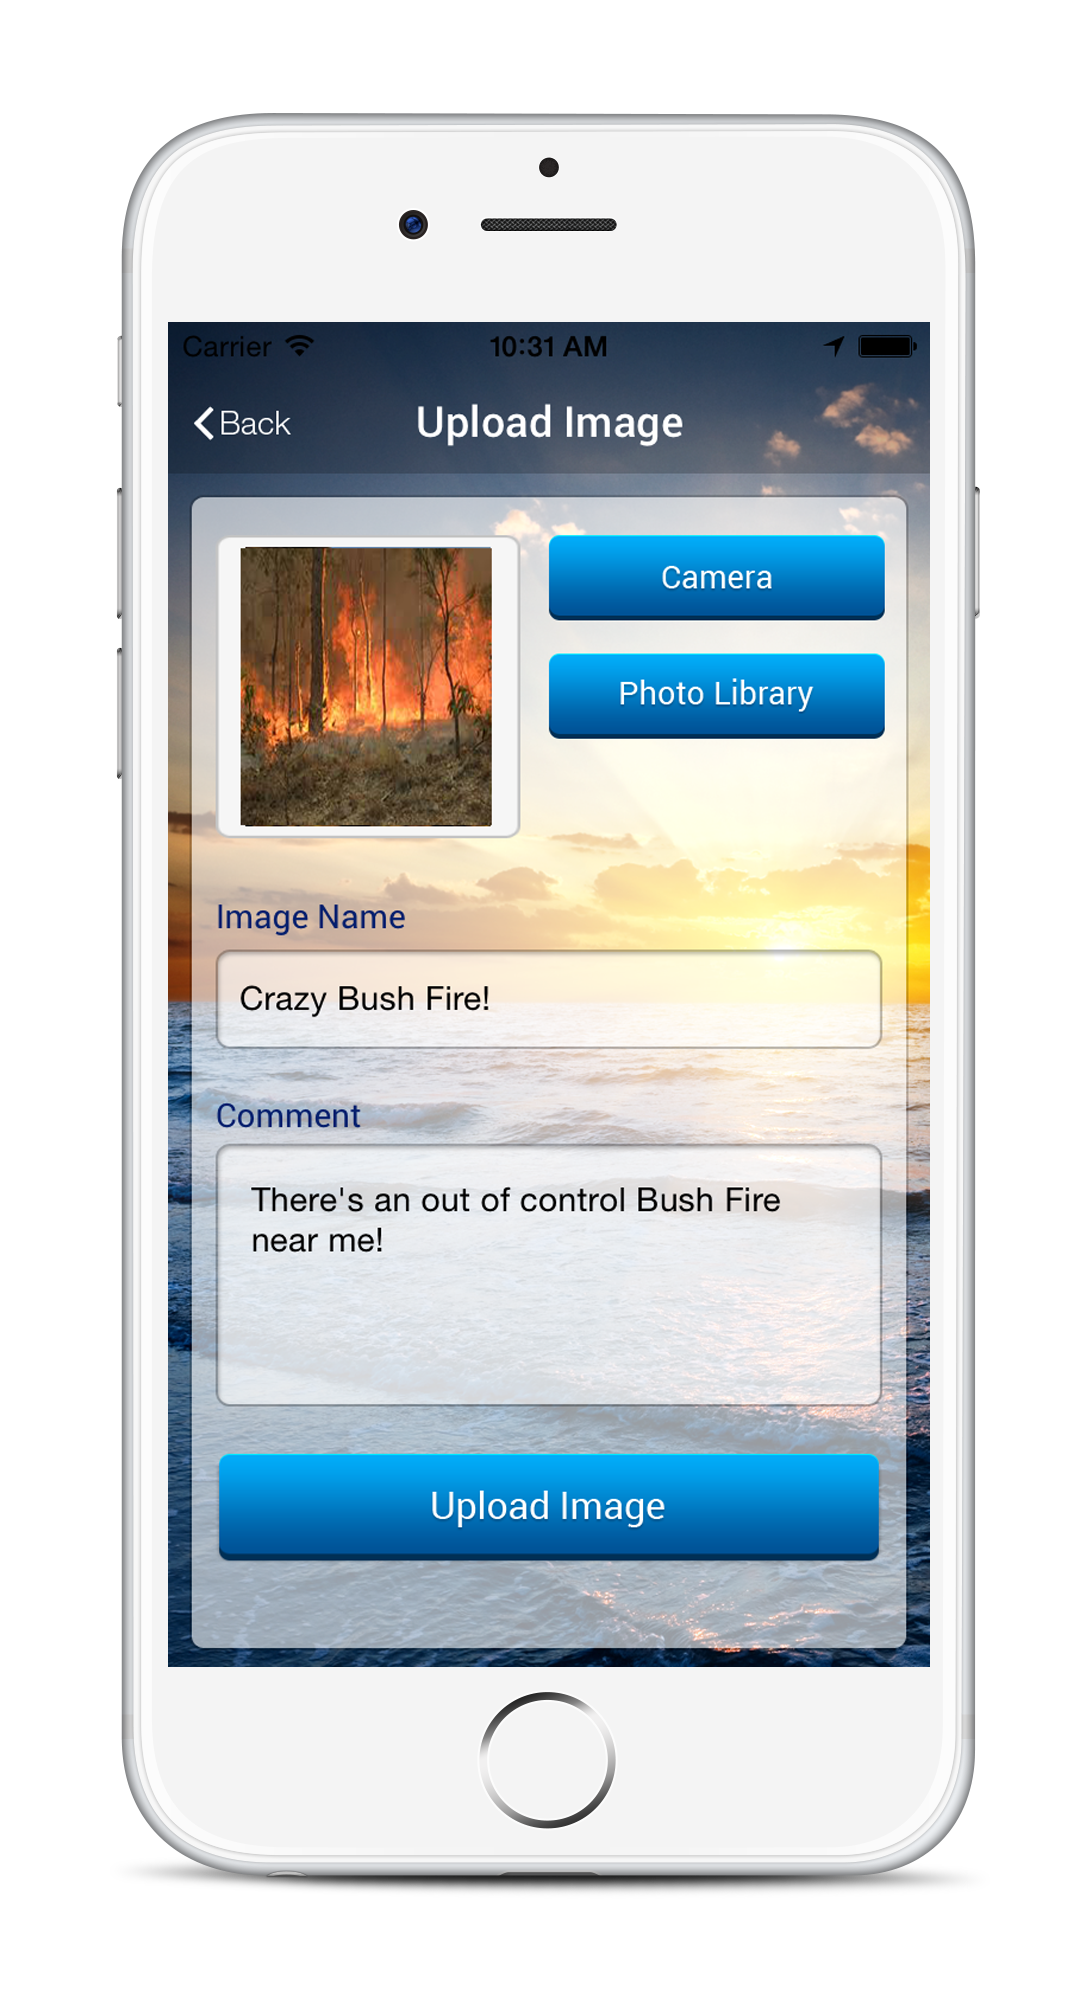
Uploading geo-located images, video and incident reports. From the menu select Upload. The screen below to the left will appear where you select what it is you wish to upload. If you select image or video the screen to the right will appear. Select camera to take the image/video which will also record the location.

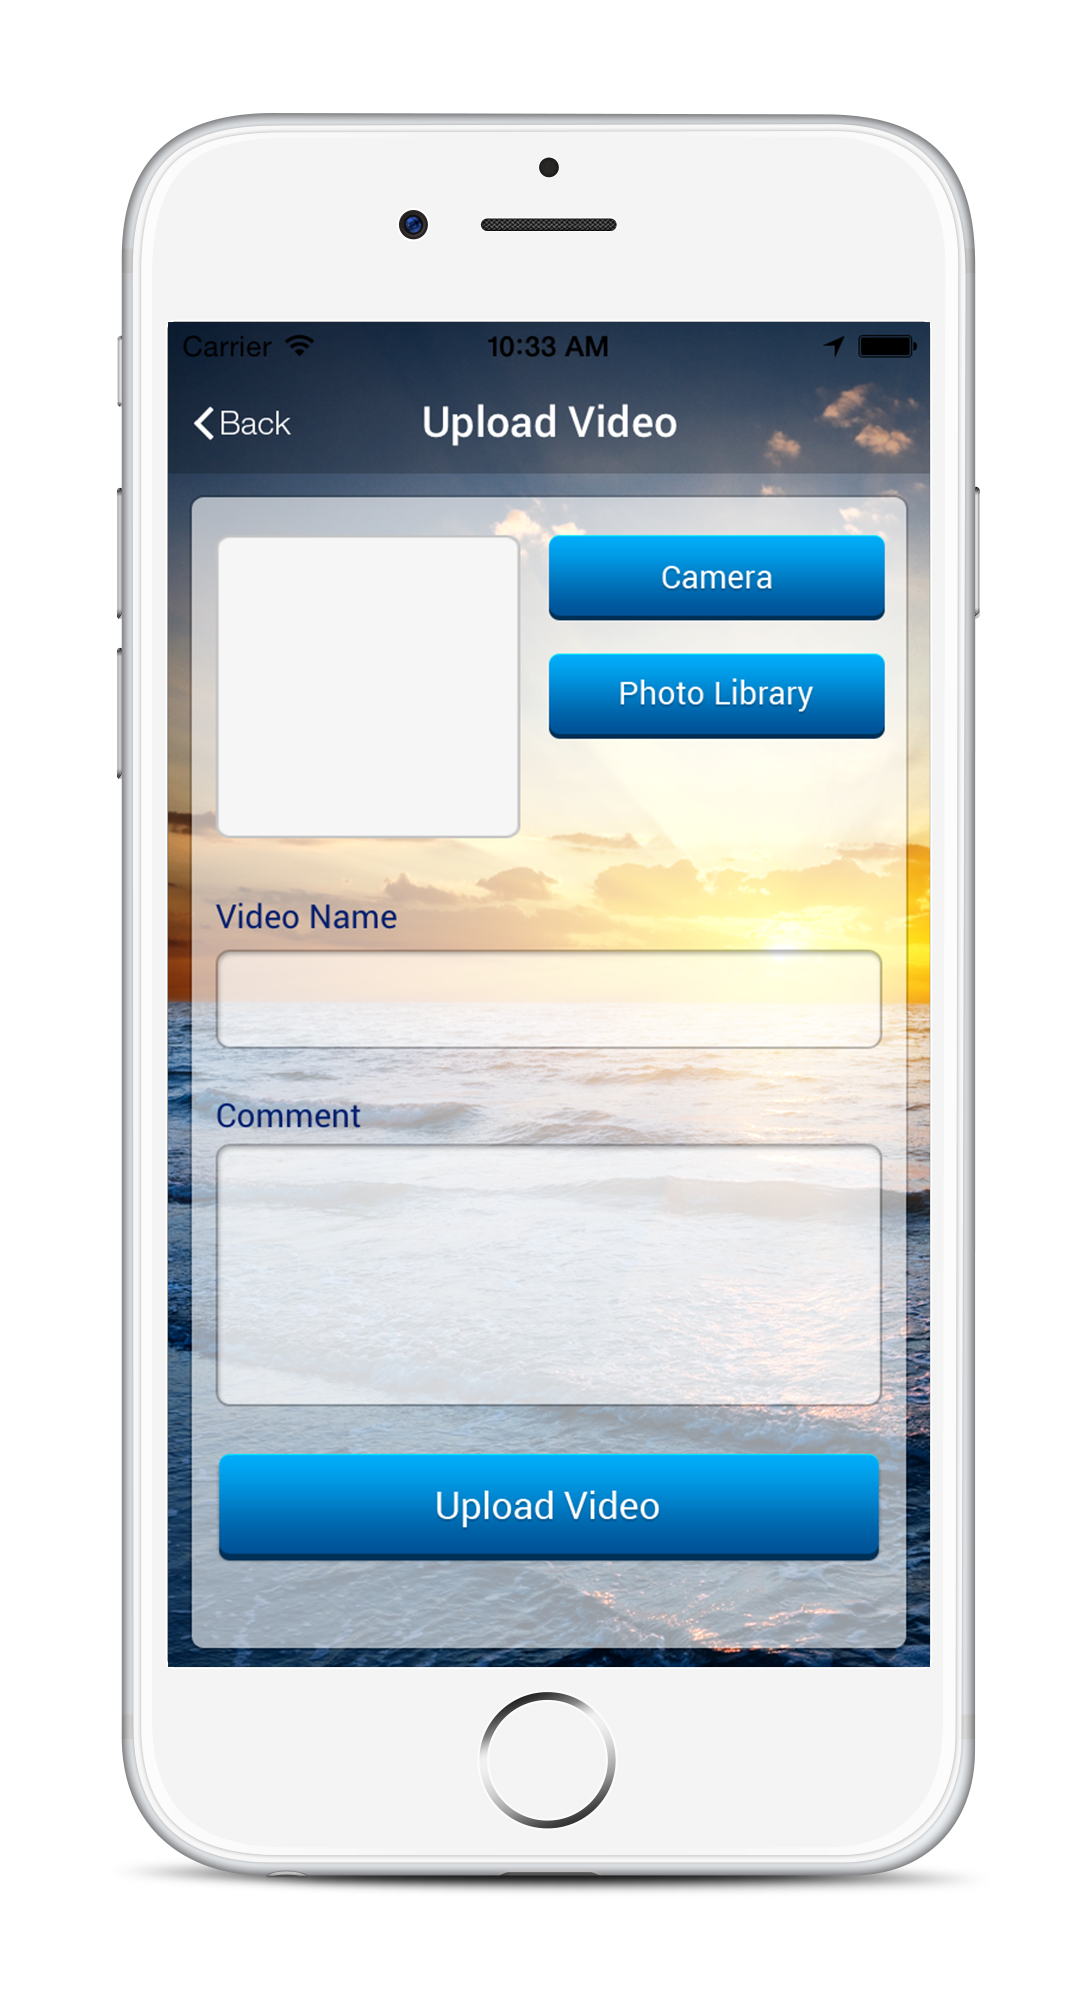
Fill in the details of the incident and the subject. Remember these will be displayed on the map and the list of alerts on the EWN alerts Pages. They will also be accessible to emergency personnel. Images non-emergency related will be categorised by EWN staff to make it easy for media/emergency and others to search and filter the incident reports important to them. EWN alerts personnel will push important incidents to authorities and of course you can visit and direct friends, family and colleagues to the same pages.
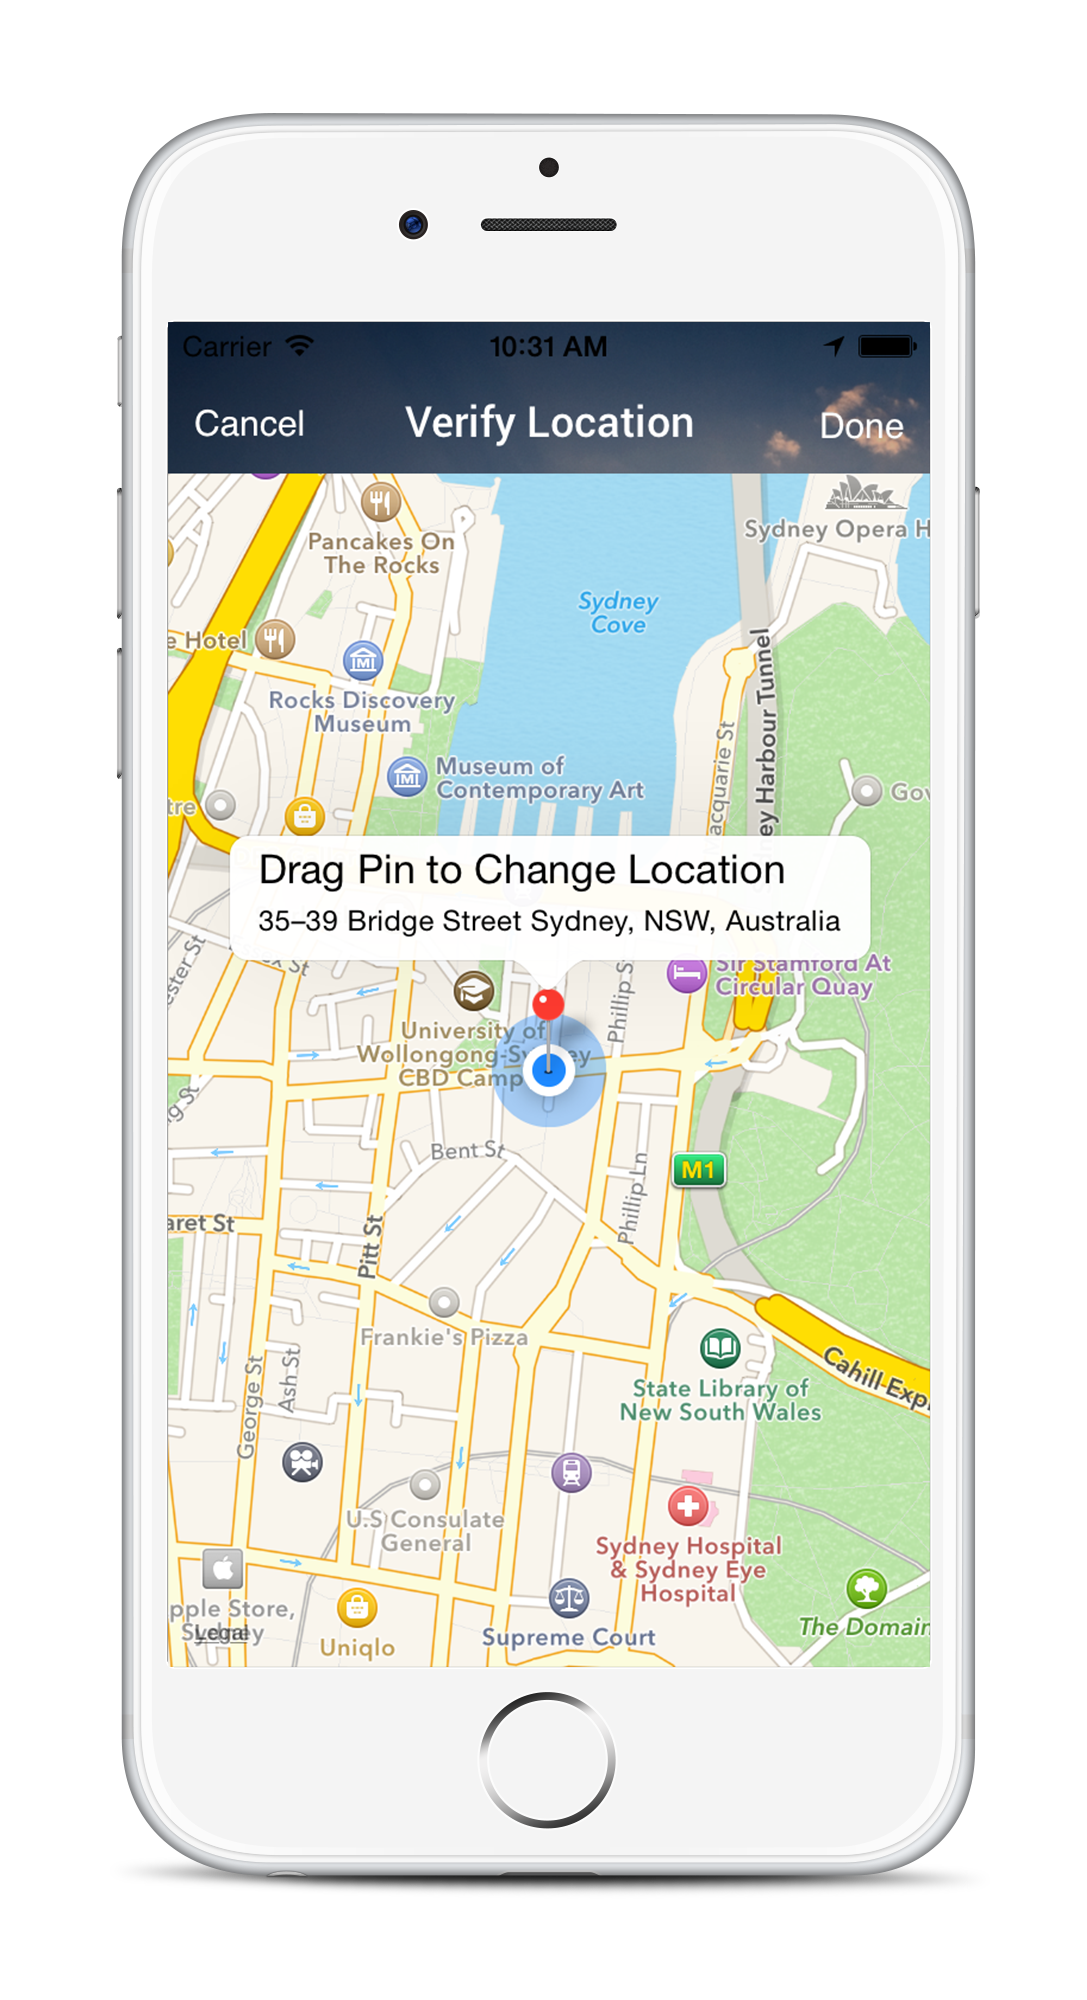
After selecting the upload button you will be asked to verify the location (as above). Press and hold the pin to move the location if necessary.
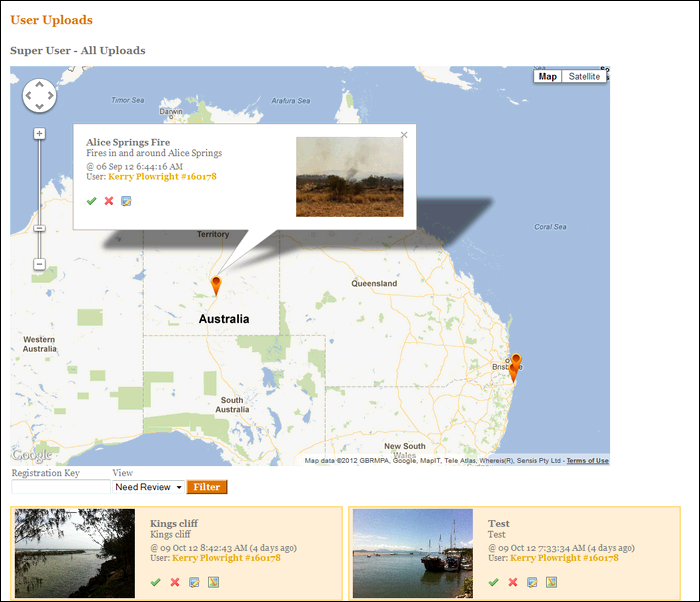
Once confirming this, your incident report is uploaded the EWN Alerts Administration panel. Where it is reviewed, categorised and approved by Alerts staff.
Notes on Sharing
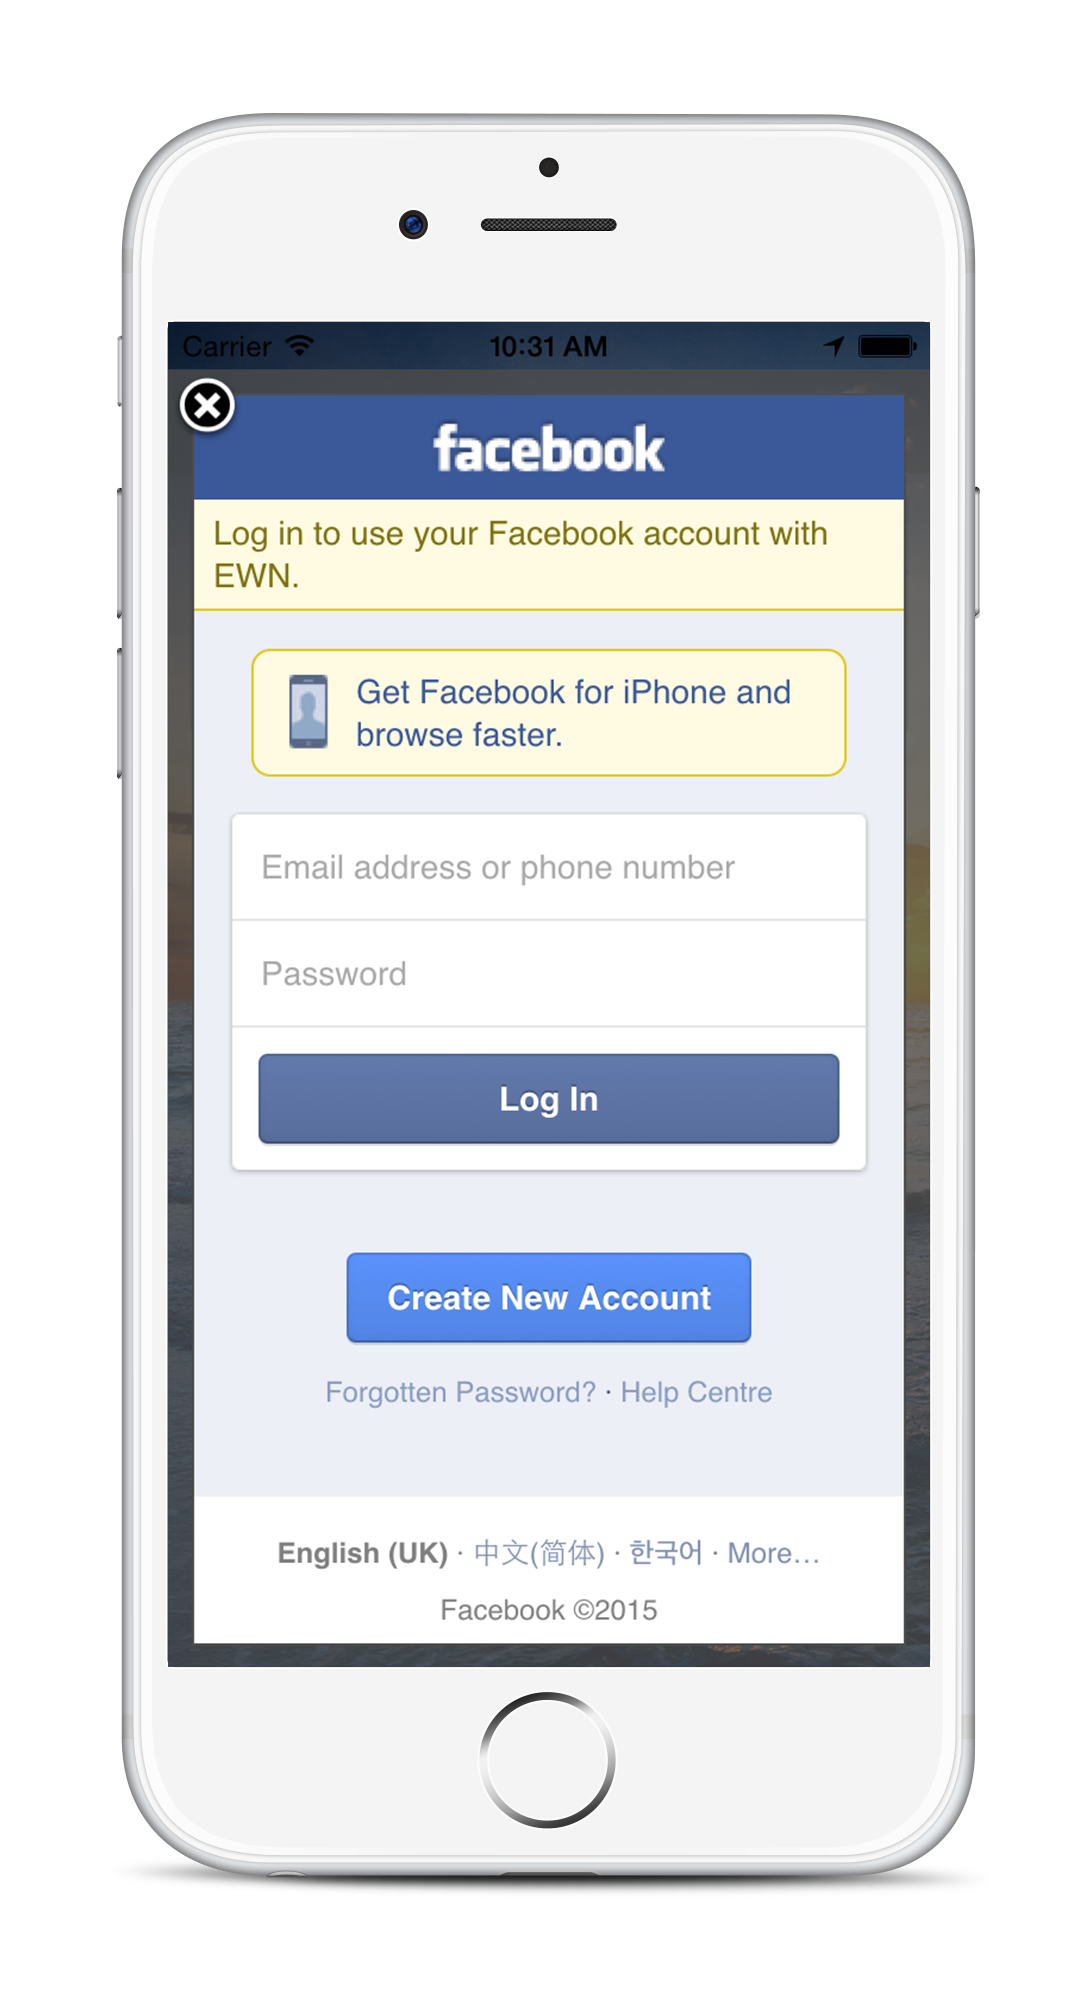
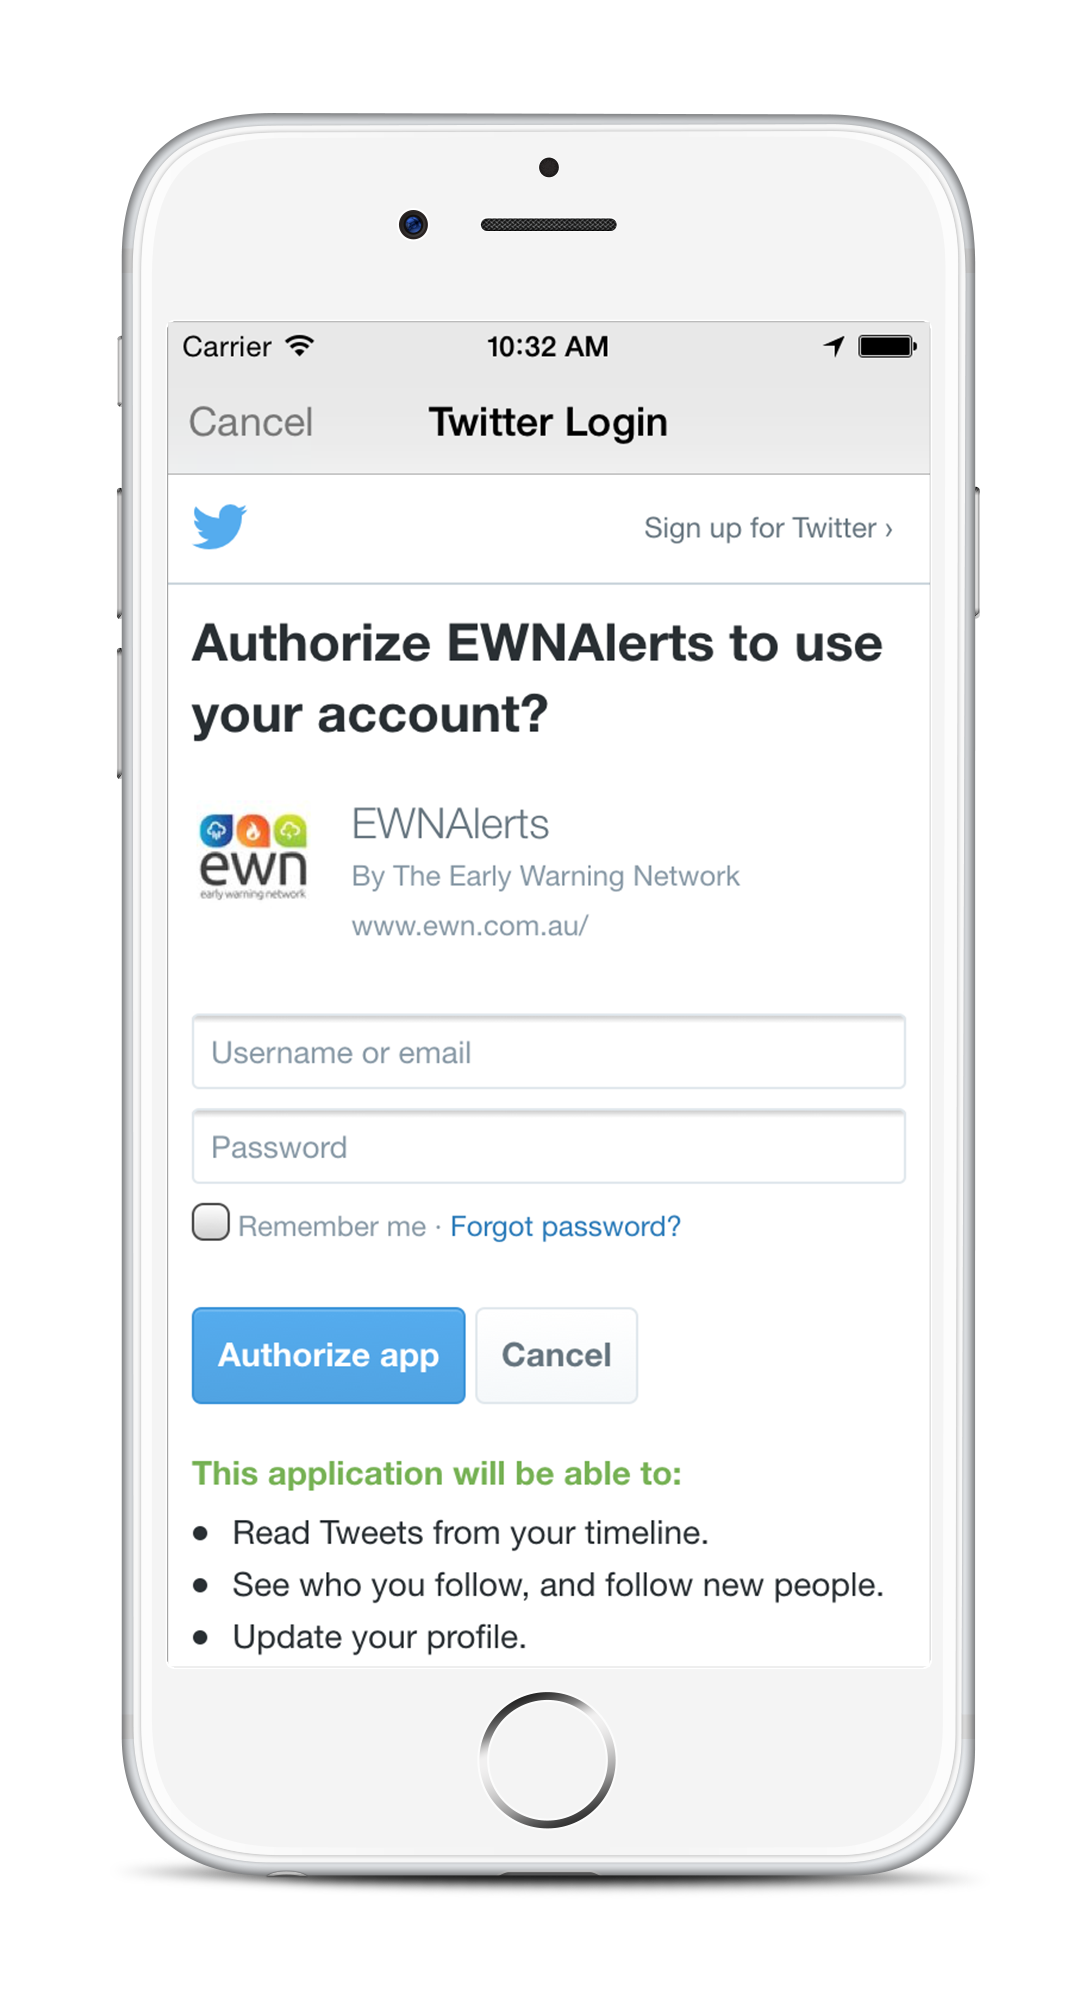
Notes on sharing. First time around using Facebook or Twitter you will need to approve the Alerts App to interface with your accounts.
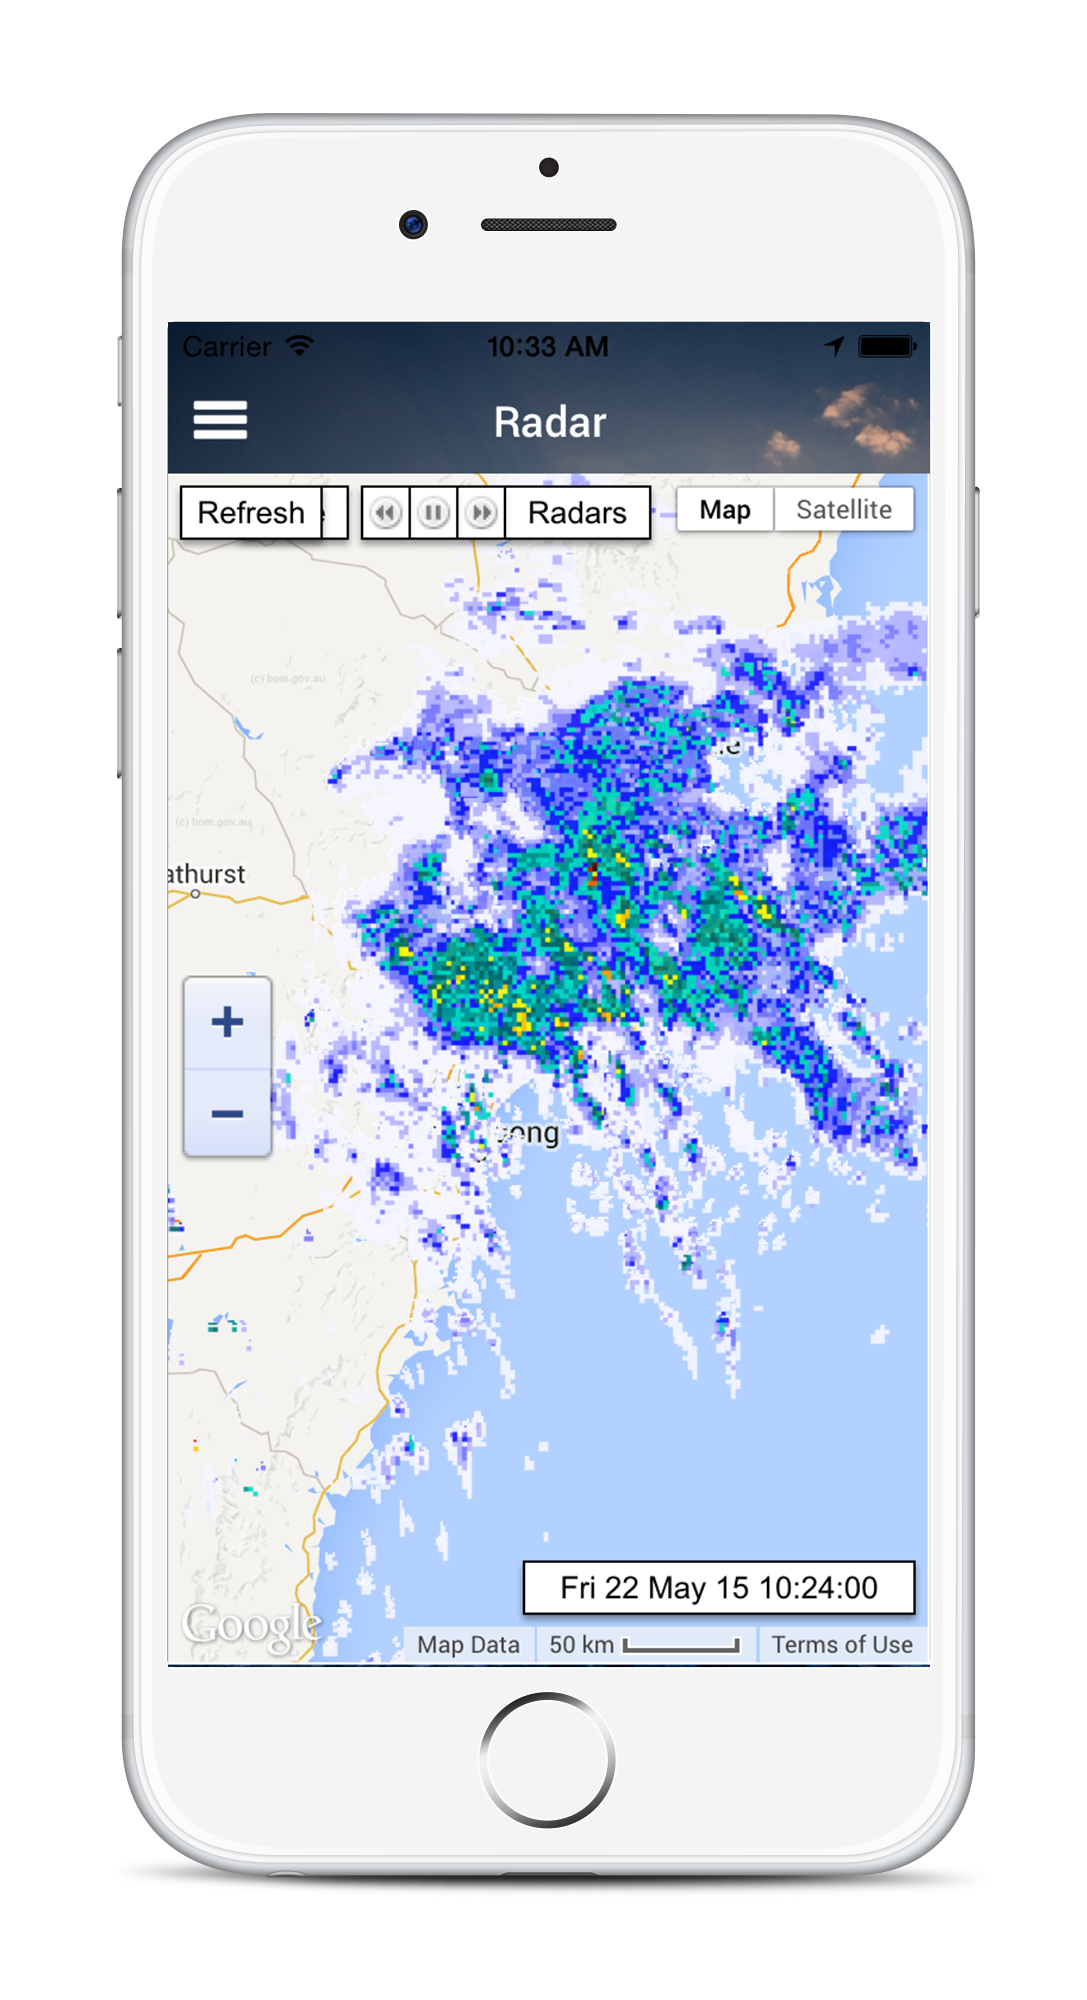
The weather radar loop shows where rainfall is falling and defaults to your location, wshich is marked with a blue pin. You can use the map zoom controls to view radar elsewhere around the country.
